I wasn’t planning to bake anything fancy. The day had gotten away from me, and my friend’s birthday sort of snuck up. I didn’t have the time or energy to make a tall layer cake, but I also didn’t want to show up empty-handed. So, I pulled out what I had and made something small.
I baked a little vanilla sponge barely five inches across and swirled purple buttercream on top. I placed it gently in a leftover lunch box, lined with parchment paper, and hoped it wouldn’t look too thrown together.
But when she opened it, she smiled. Not the polite kind. The kind that made me pause. That tiny cake, simple as it was, meant something.
Not sure what a bento cake really is or where the trend came from? Start here with our What Is a Bento Cake? guide.
Table of Contents
What Is a Bento Cake and Why Everyone Loves It
Inspired by Bento Boxes, Made for Sweet Moments
Bento cakes are small sponge cakes, usually 4 to 5 inches across, layered and frosted, then packaged like a gift. If you’re wondering about their meaning, history, or why they’re trending, read our full guide: What Is a Bento Cake?
A Little Cake With a Lot of Heart
The first one I made was for a birthday. I didn’t have time for a tall, layered cake. I needed something quick but still special. That tiny cake ended up feeling more thoughtful than any big one I’ve baked.
You don’t need a party to make one. No need for an event. I’ve made bento cakes for Tuesday nights when everything felt a little heavy, or for no reason at all except that the kids were bored and I needed a project.
Want a quick dessert with the same cozy feel? Try my Cloud cake. It’s rich, smooth, and takes under ten minutes.
Step-by-Step Bento Cake Recipe for Beginners
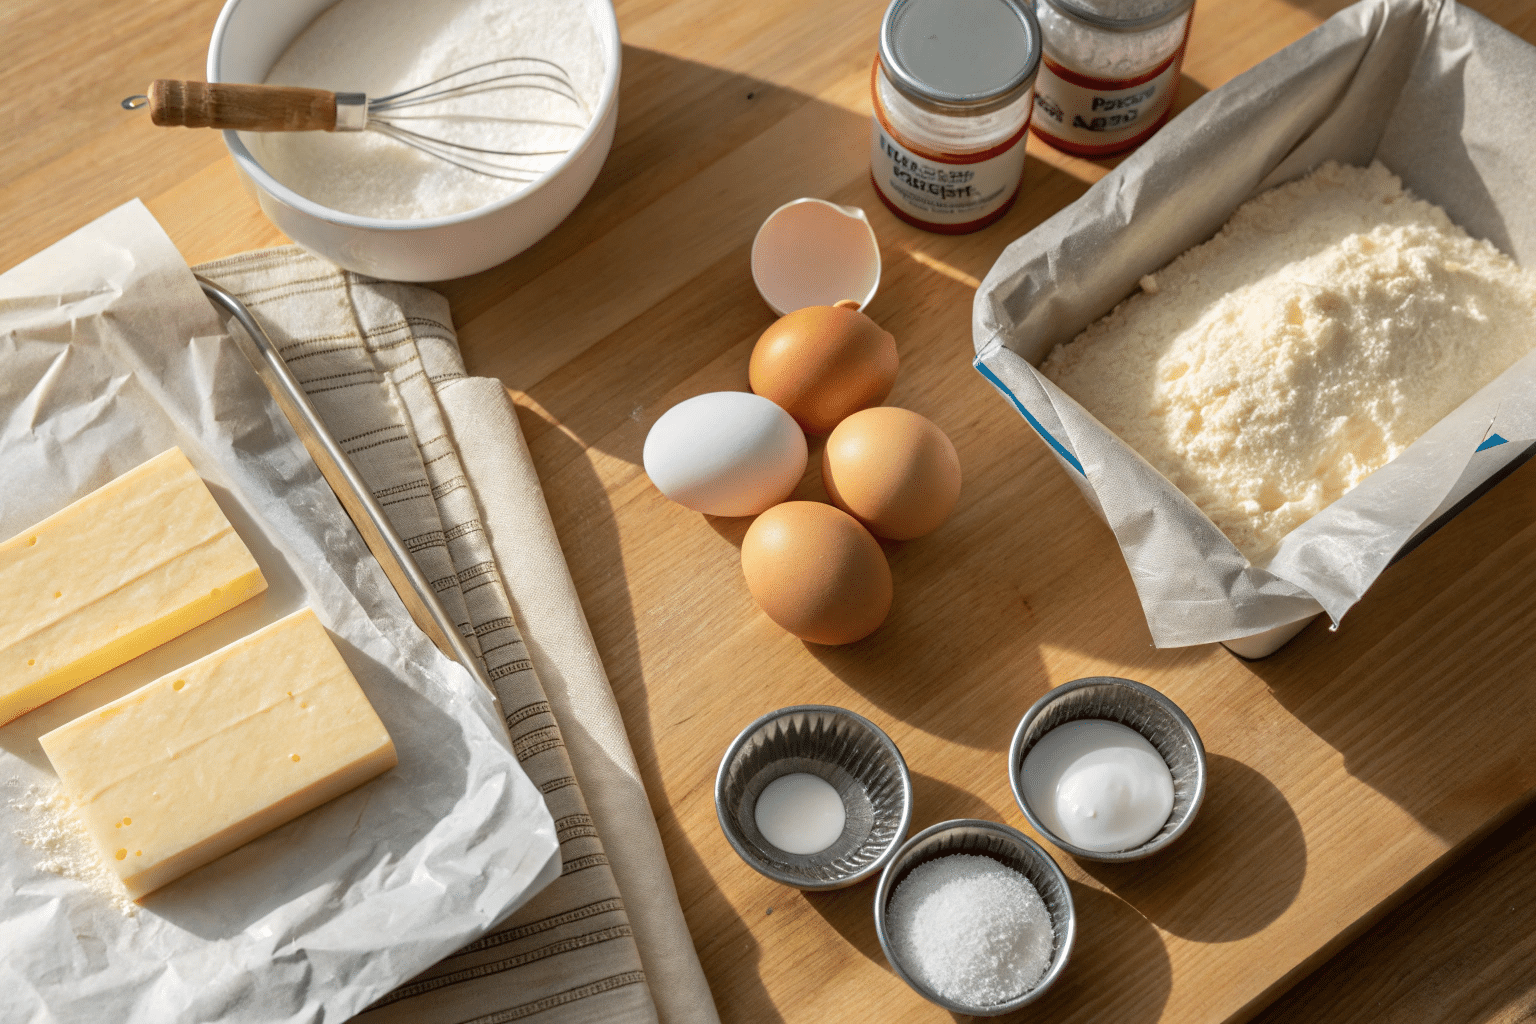
Ingredients You Probably Already Have
The beauty of this bento cake recipe is that it’s simple. You don’t need fancy ingredients, just a few basics that might already be in your kitchen.
Here’s what I use for a soft, buttery 5-inch vanilla sponge:
- 100 grams unsalted margarine or Flora Buttery, room temperature
- 100 grams caster sugar
- 2 large eggs
- ½ teaspoon vanilla extract
- 100 grams self-raising flour

This recipe makes two short layers, perfect for stacking. If you’re making a larger batch or different flavors, I’ve shared variations in my Matilda Chocolate Cake post.
Instructions That Keep It Simple and Fun
Step 1: Preheat your oven to 160°C fan or 180°C regular. Line two 5-inch round tins with parchment paper and set them aside.
Step 2: Cream the margarine and sugar together until pale and fluffy. This part matters. Give it a few minutes. Light and airy is what we want.
Step 3: Add eggs one at a time, mixing well after each. Stir in the vanilla extract. If the mix looks a little curdled, toss in a spoonful of flour to bring it back together.
Step 4: Fold in the self-raising flour gently using a spatula. Mix just until combined. No need to overwork it.
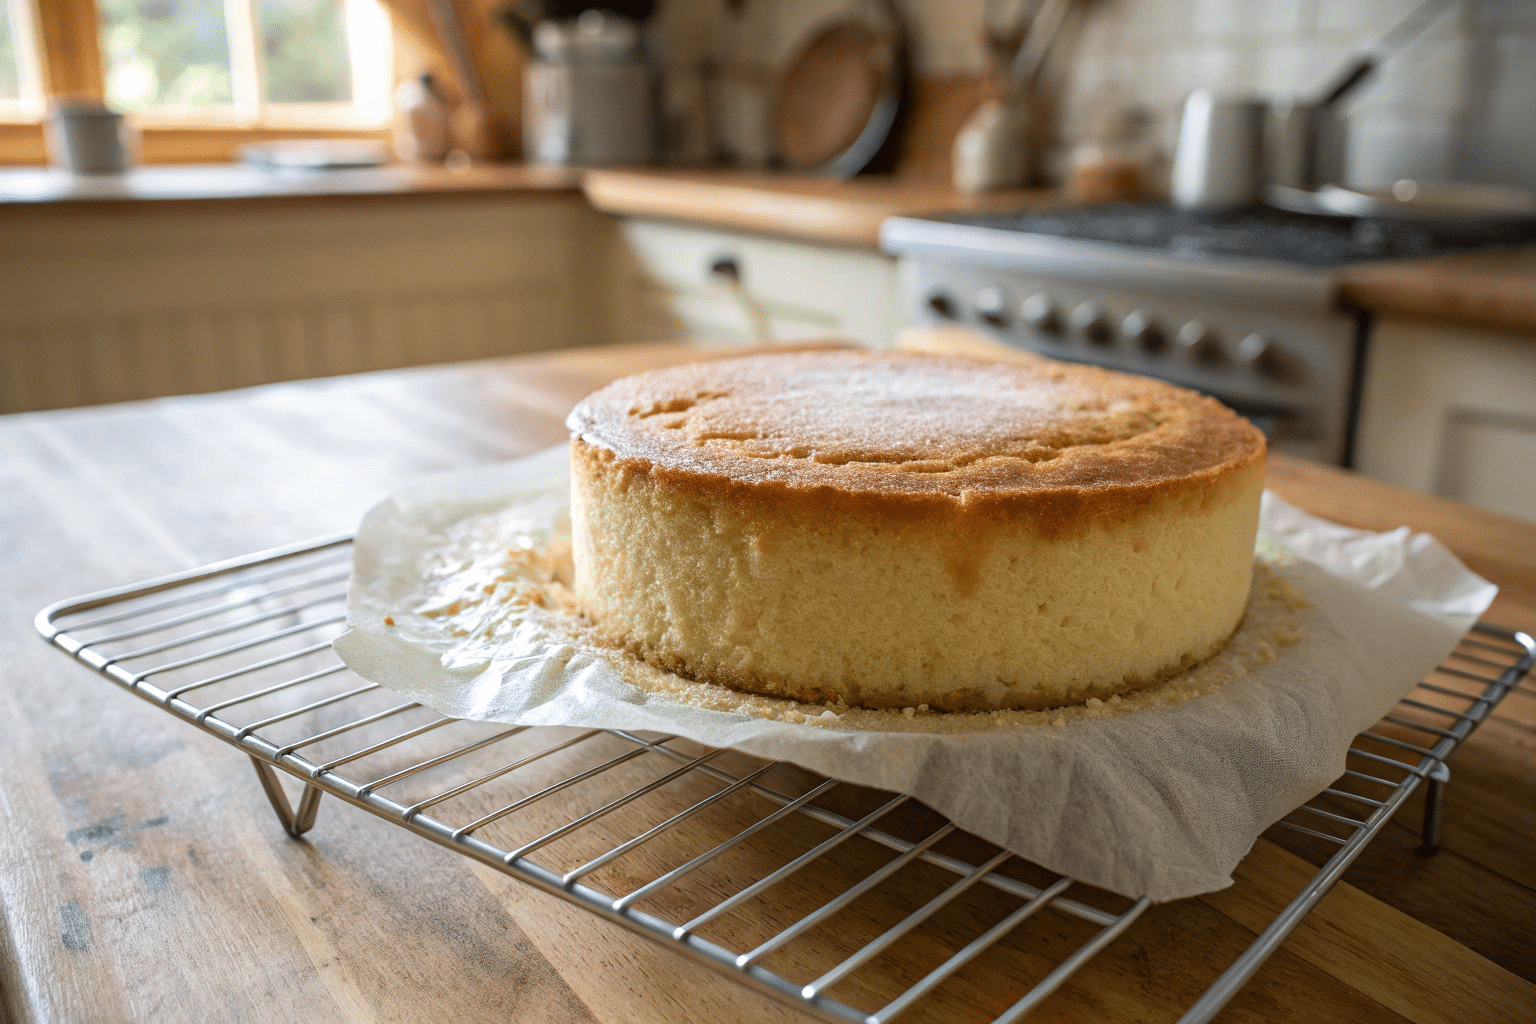
Step 5: Divide the batter evenly between the tins. I like using a digital scale to keep things even, but eyeballing works too. Bake for about 25 minutes or until a skewer comes out clean.

Step 6: Let the cakes cool in the tins for 10 minutes, then transfer to a rack. Once cooled, wrap them in cling film and chill. This step helps make decorating a whole lot easier.
How to Decorate a Bento Cake With Style
Basic Buttercream and Layering Tips
Let’s keep decorating fun. No need for perfection. I usually start with a batch of buttercream using:
- 150 grams unsalted butter, softened
- 300 grams icing sugar
- 1 teaspoon vanilla extract
- Optional: gel food coloring
Whip the butter first until soft and fluffy, then slowly add in the icing sugar. A splash of milk can loosen it up if needed. Add vanilla last. If you want color, start with just a drop of gel coloring and mix well.
Stacking time: Place one cake layer on a small parchment square. Use a piping bag to create a ring of buttercream around the edge. That’s your “dam.” Inside, spoon in your filling—jam, caramel, even Nutella.
Place the second cake layer gently on top and press lightly to secure. Apply a thin layer of buttercream over the whole cake. This is your crumb coat. Chill it for 15 minutes to set.
Personalizing With Colors and Toppers
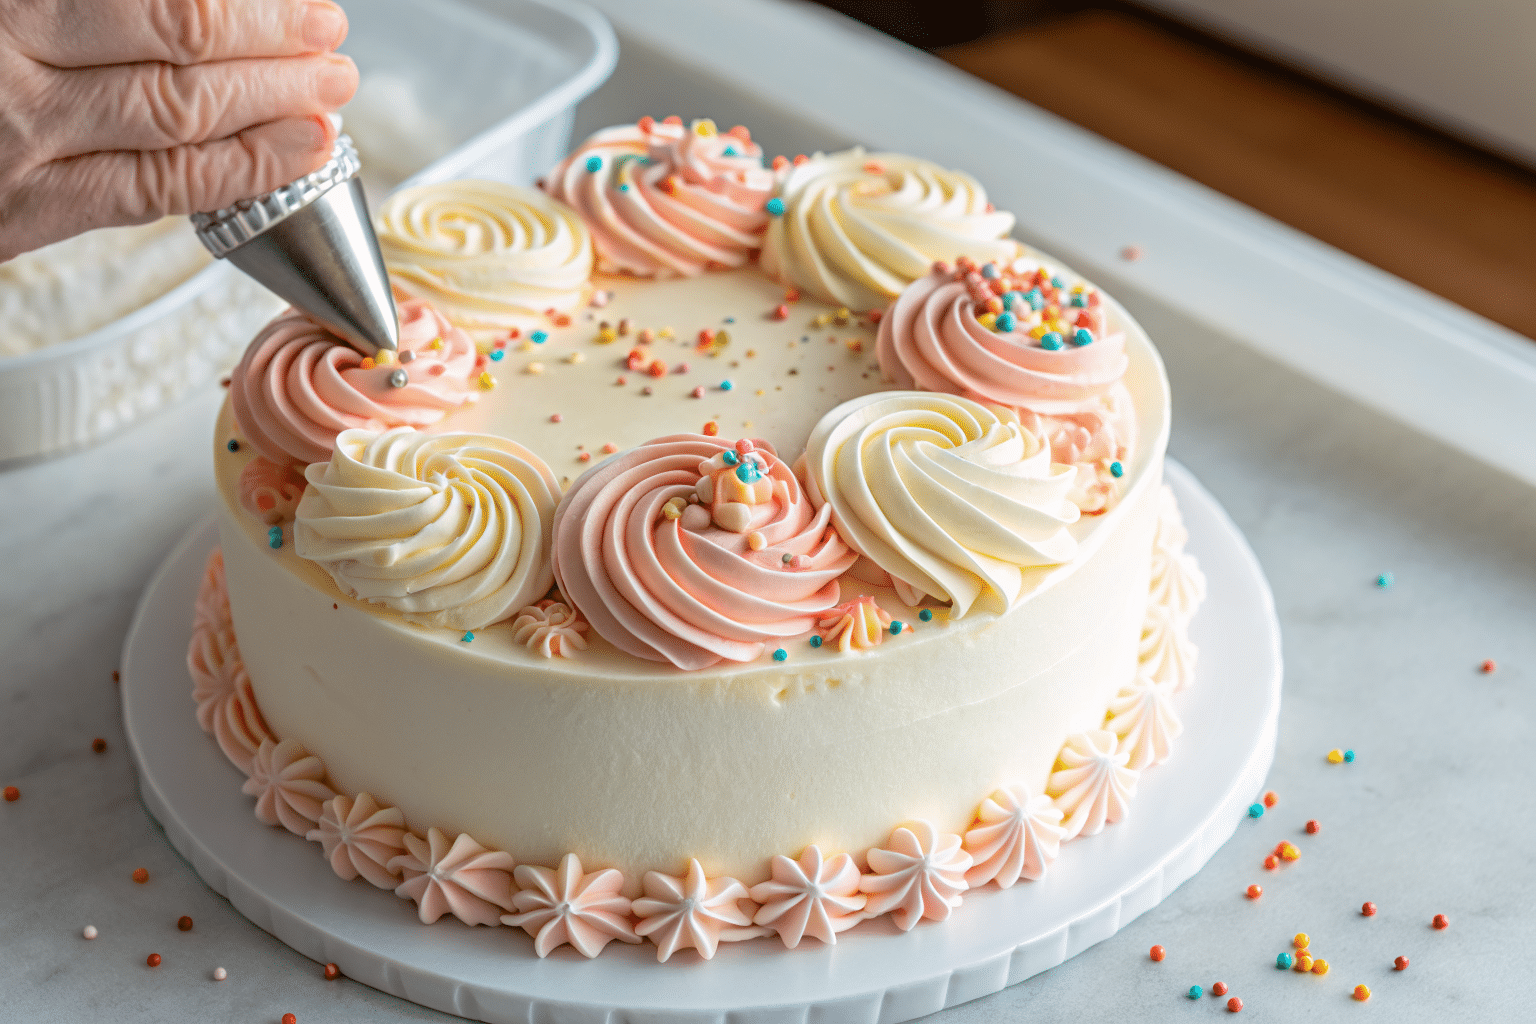
Once the crumb coat is chilled, add your final layer of buttercream. Smooth it out with a spatula or leave soft swirls for texture. You can keep things simple or go all out with decorations.
Some of my favorite ideas:
- Pipe a buttercream border using a Wilton 1M tip
- Add sprinkles or crushed freeze-dried berries
- Place a fondant topper or message right in the center
- Use two or three shades of buttercream for a watercolor effect

Tips for Perfect Bento Cake Presentation
Boxing It Beautifully
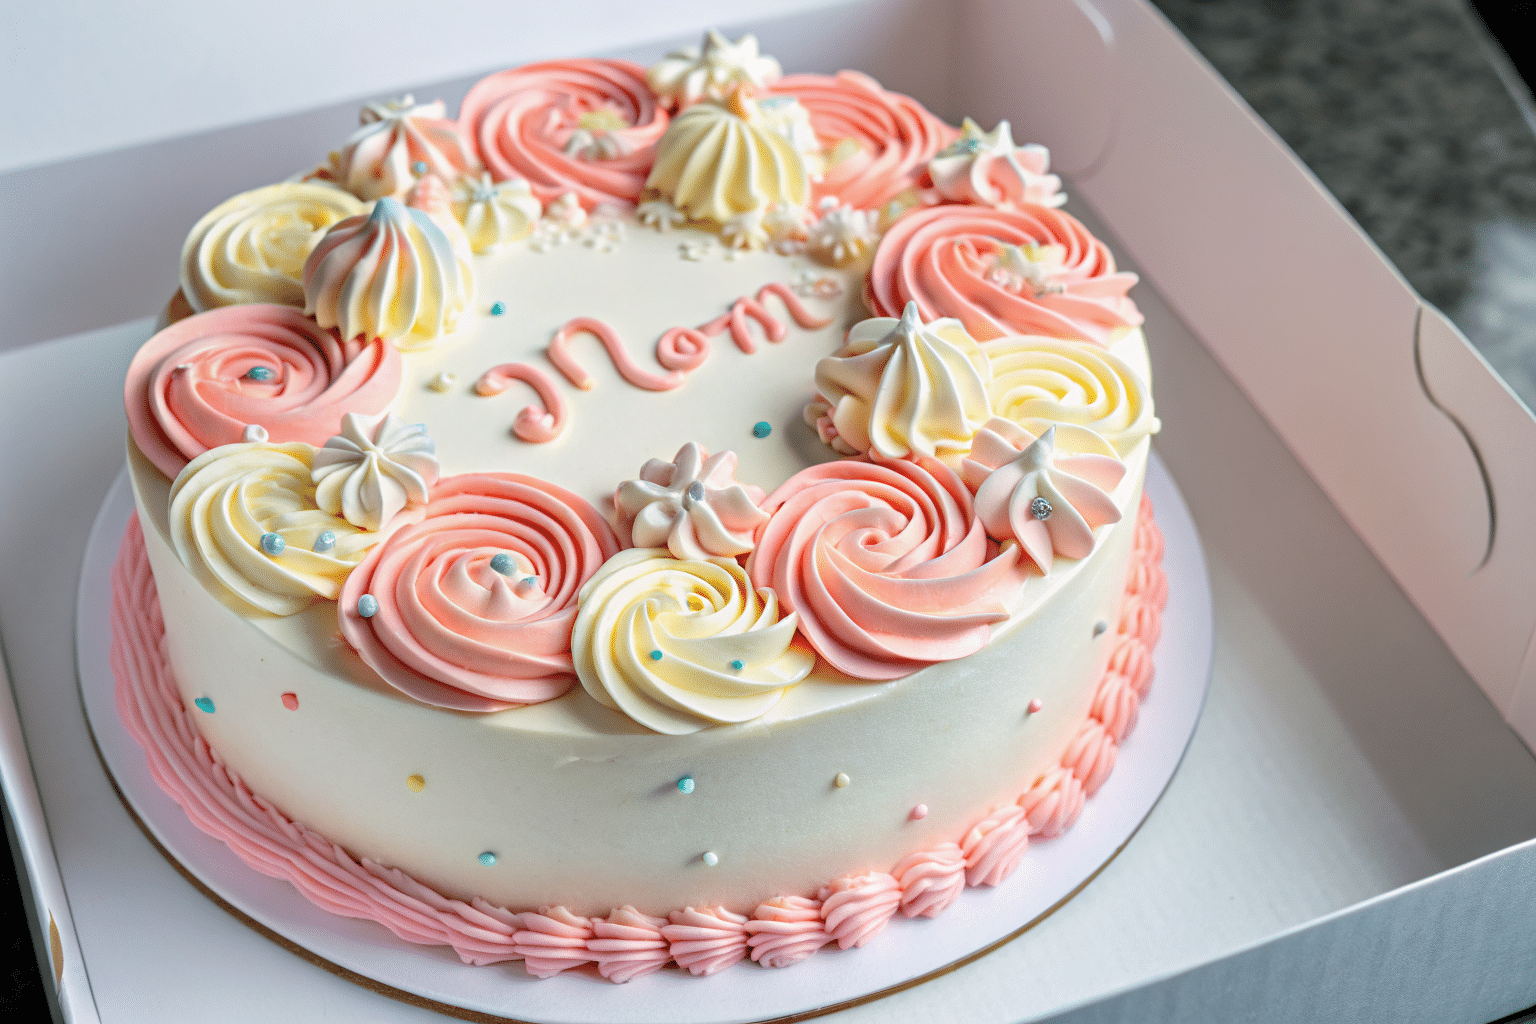
One of the best parts of making a bento cake is how easy it is to turn into a sweet little gift. I love using burger-style or cupcake boxes. Look for ones that fit a 4 to 5-inch cake snugly. You can even cut out parchment circles or inserts to keep the cake stable inside.
Slide the cake in gently. Add a square of tissue paper or wax paper underneath for a cleaner look. If you’re gifting it, a small ribbon or handwritten tag adds a personal touch without needing much effort.
When you lift the lid and see a tiny cake waiting inside, it feels like opening a present. And that’s exactly the feeling you want to create.
Serving, Storing, and Gifting Ideas
Bento cakes are best served at room temperature. I usually take mine out of the fridge about 30 minutes before slicing. That way, the buttercream softens and the texture feels just right.
If you need to store it, cover the cake box and place it in the fridge. It will stay fresh for up to two days, but it’s best enjoyed within 24 hours. If you’ve used fresh fruit or delicate toppers, keep an eye on how they hold up.
Gifting one? I recommend adding a little card with the flavor, ingredients, and a note saying “best enjoyed today.” That simple message makes it feel even more thoughtful.
For another gifting idea, check out my Cottage Cheese Chocolate Mousse. It’s a great jarred dessert for quick homemade presents.
FAQs About Bento Cake Recipes
What’s the difference between a bento cake and a normal cake?
The main difference is the size. A standard cake, like a 6-inch or 8-inch, is meant for larger gatherings and serves many people. A bento cake is smaller, typically serving 6 to 8 slices, and is packaged in a small box for a personal, gift-like experience. Bento cakes are also often more detailed in decoration due to their petite size.
Why is bento cake expensive?
A bento cake is priced higher because of the extra care and time it takes to create it. Each cake is handcrafted, often decorated with intricate designs, and packed in a special box. Despite being smaller, the same level of effort, skill, and quality ingredients goes into a bento cake, making it feel like a luxury dessert that’s worth the price.

Bento Cake
Ingredients
Equipment
Method
- Preheat oven to 160°C fan or 180°C regular. Line two 5-inch tins with parchment.
- Cream butter and sugar until light and fluffy.
- Add eggs and vanilla. Mix well. If needed, add a little flour to prevent curdling.
- Fold in self-raising flour gently until combined.
- Divide between tins and bake for 25 minutes. Cool completely.
Notes
A homemade bento cake is more than just dessert — it’s a thoughtful gesture in a little box. With this easy recipe, you can whip one up for birthdays, quiet tea moments, or last-minute surprises. Want more background on the bento cake trend? Don’t miss our What Is a Bento Cake? article.
follow us on Pinterest for daily inspiration straight from our kitchen to yours!