A bento cake for one turns an ordinary day into a small celebration. This soft vanilla cake is baked in one 4 inch pan, cooled, and sliced into two neat layers before being filled and covered with creamy vanilla buttercream. Its tiny size makes it easier to decorate than a full cake, while still giving you room for a short message, colorful piping, or a spoonful of fruit filling. Whether you are planning a birthday surprise, preparing a thoughtful gift, or simply craving a homemade dessert, this charming little cake makes the moment feel special without leaving a large cake behind.
Table of Contents
What Is a Bento Cake for One?
A bento cake is a small decorated cake inspired by the lunchbox cakes popularized in South Korea. It is usually about 4 inches wide and presented in a compact takeout style box. The small size, simple frosting, and playful decorations make it easy to personalize for birthdays, congratulations, holidays, and everyday treats.
If you are curious about its background, packaging, and Korean-inspired presentation, read more about what a bento cake is.
This version is baked in one pan and sliced horizontally to create two layers. That method is convenient for home bakers who own only one small cake pan. The finished cake is intended as one generous serving, although two people can share smaller portions.
A regular mini cake can use almost any decoration or packaging. A bento cake is recognizable because of its compact size, smooth or casually swirled buttercream, sweet piped messages, and gift ready presentation.
Why You Will Love This Recipe
It makes one small cake
You do not need to bake a full size layer cake when you want a personal dessert. This recipe makes one 4 inch cake with two layers.
It uses simple ingredients
The vanilla cake relies on familiar baking staples, including flour, sugar, oil, milk, sour cream, and vanilla. You can find everything in most grocery stores.
It is easy to personalize
Keep the center simple with buttercream or add one measured tablespoon of strawberry or raspberry jam. Finish the cake with pastel frosting, tiny flowers, hearts, borders, sprinkles, or a short message.
It is beginner friendly
One pan simplifies the baking process. Once the cake has cooled, a serrated knife helps turn it into two even layers.
Ingredients You Will Need
For the vanilla cake
All purpose flour: Flour creates the cake’s structure. Measure it carefully so the crumb does not become dry or heavy.
Baking powder and baking soda: These leavening ingredients help the small cake rise.
Salt: A small pinch balances the sweetness and brings out the vanilla flavor.
Granulated sugar: Sugar sweetens the cake and contributes to its soft texture.
Neutral oil: Canola, vegetable, or another mild oil keeps the cake moist without adding a strong flavor.
Half of one large egg: Whisk a whole egg first, then measure half. This is more accurate than trying to divide an unwhisked egg.
Sour cream: Sour cream adds moisture and richness to the batter. Bring it to room temperature before mixing.
Vanilla extract: Vanilla gives the cake its warm, classic flavor.
Warm milk: Milk loosens the batter and helps the ingredients combine smoothly.
For the small batch buttercream
You will need softened unsalted butter, powdered sugar, vanilla extract, a pinch of salt, and a small amount of milk. Add the milk gradually because the frosting must remain firm enough to cover and decorate such a small cake.
Optional filling
Use 1 tablespoon of strawberry or raspberry jam for a fruity center. A buttercream border helps keep the jam from escaping between the layers.
Equipment
For a small, even cake, use a 4-inch round cake pan approximately 2 inches deep. The Wilton Aluminum Round Cake Pan is one option; confirm the selected size and depth before ordering.
You will need:
- One 4 inch round cake pan, about 2 inches deep
- Parchment paper
- Two small mixing bowls
- A whisk
- An electric hand mixer
- A cooling rack
- A serrated knife
- A small offset spatula
- A piping bag and tip, optional
The depth and material of your pan can affect the baking time. A dark metal pan may bake faster around the edges than a light colored pan.
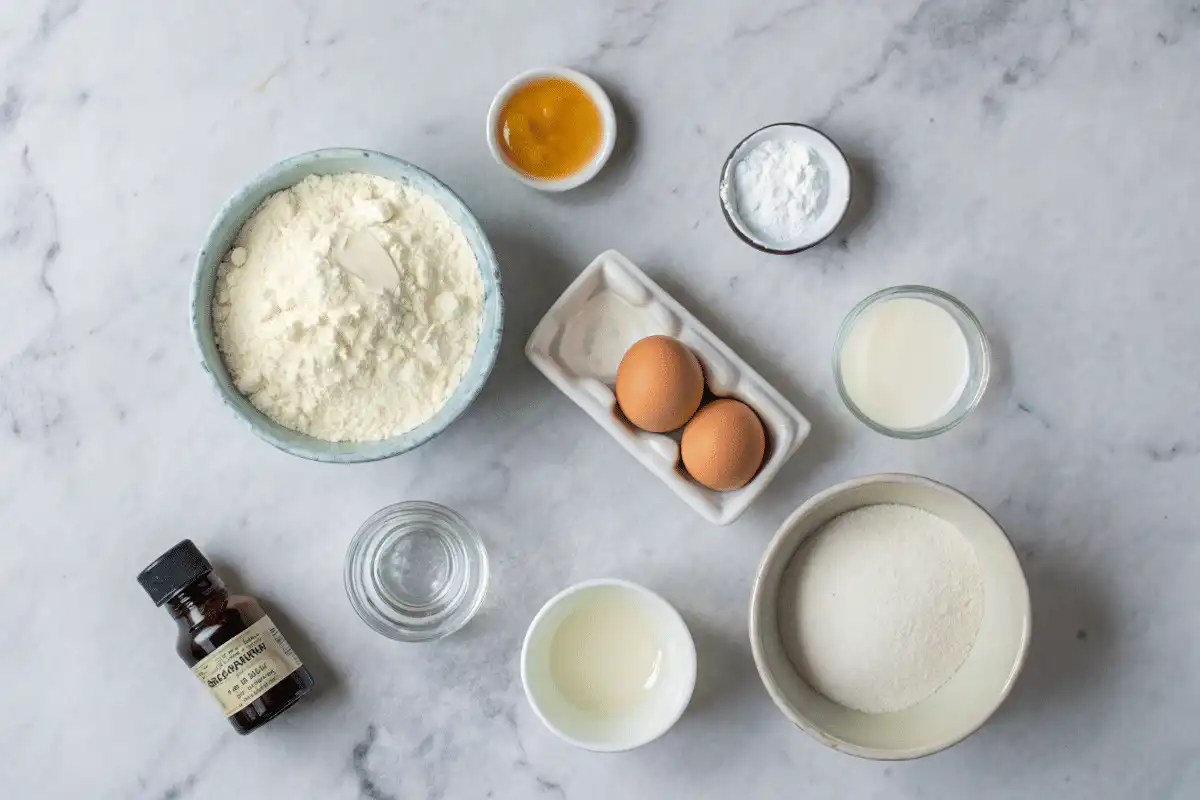
How to Make a Bento Cake for One
1. Prepare the oven and pan
Preheat the oven to 350°F. Lightly grease the inside of one 4 inch round cake pan. Cut a small circle of parchment paper and place it in the bottom of the pan. This helps the delicate cake release cleanly.
2. Combine the dry ingredients
Whisk the all purpose flour, baking powder, baking soda, and salt in a small bowl. Mixing these ingredients separately distributes the leavening evenly throughout the batter.
3. Mix the wet ingredients
In another bowl, whisk the sugar, neutral oil, measured half egg, sour cream, and vanilla until the mixture looks smooth and evenly combined.
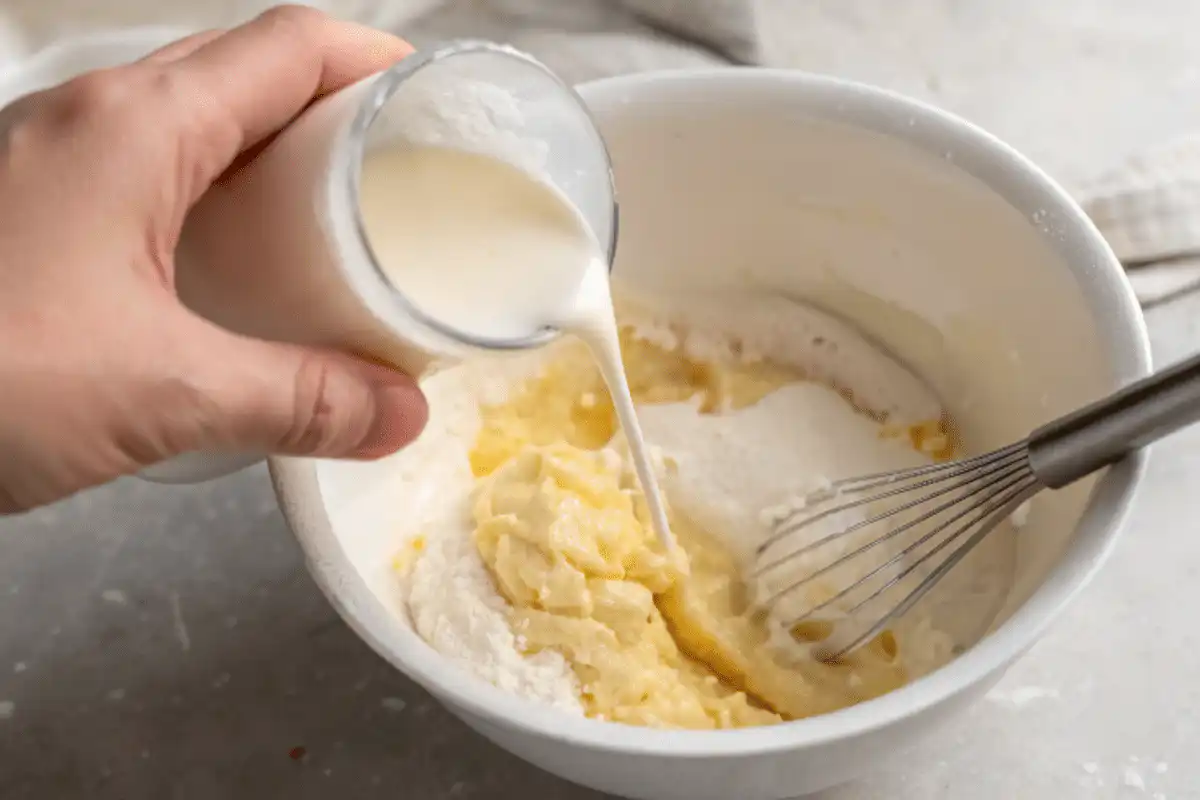
4. Finish the batter
Add the dry ingredients to the wet mixture. Stir gently until only a few flour streaks remain. Pour in the warm milk and mix just until the batter becomes smooth. Stop as soon as everything is combined. Overmixing can make a small cake feel dense.
5. Bake
Transfer the batter to the prepared pan and smooth the top. Bake until the center springs back after a light touch and a toothpick inserted into the middle comes out clean or with a few moist crumbs.
Begin checking the cake at 18 minutes. Depending on the exact depth, color, and material of the pan, it may need up to 24 minutes. The cake is ready when the center springs back gently and a toothpick comes out clean or with a few moist crumbs.
6. Cool completely
Leave the cake in the pan for about 10 minutes. Carefully turn it onto a cooling rack and remove the parchment. Let it cool completely before cutting or frosting it. A warm cake can crumble, and it can melt the buttercream.
7. Prepare the buttercream
Beat the softened butter for about 2 minutes, until smooth and creamy. Add the powdered sugar gradually so it does not scatter out of the bowl. Mix in the vanilla, salt, and 1 teaspoon of milk. Beat until the frosting becomes light and smooth. Add the second teaspoon of milk only if the buttercream is too firm to spread.
8. Cut two cake layers
If the cake has a rounded top, trim it with a serrated knife. Hold the cake steady and slice it horizontally through the middle to create two even layers. Move the knife with a gentle sawing motion instead of pressing down.
9. Add the filling
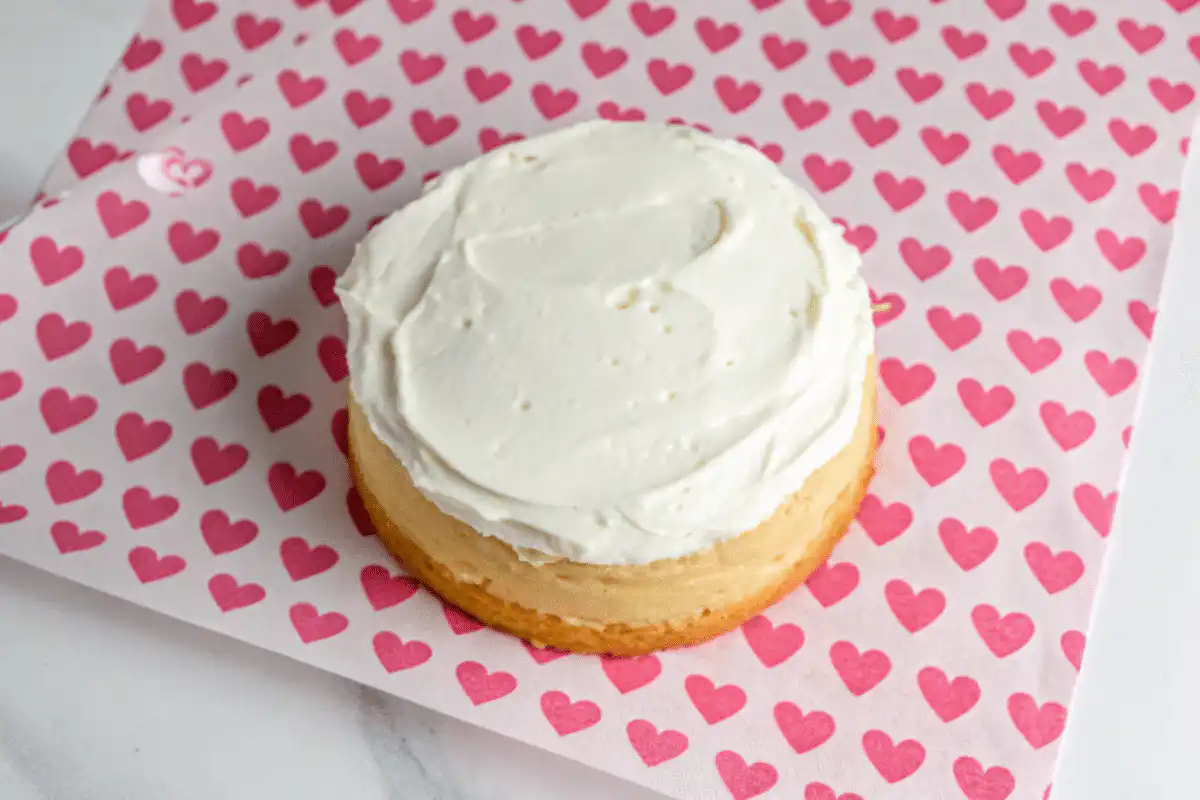
Place the bottom layer on a small square of parchment paper. Spread a thin layer of buttercream over it.
For a fruit filling, pipe a narrow buttercream border near the outer edge. Spoon 1 tablespoon of strawberry or raspberry jam into the center and spread it gently. Place the second cake layer on top.
10. Apply the crumb coat
Spread a very thin layer of buttercream over the top and sides of the cake. This first coat traps loose crumbs and creates a clean base for the final frosting. Refrigerate the cake for about 20 minutes, or until the buttercream feels firm.
11. Frost and decorate
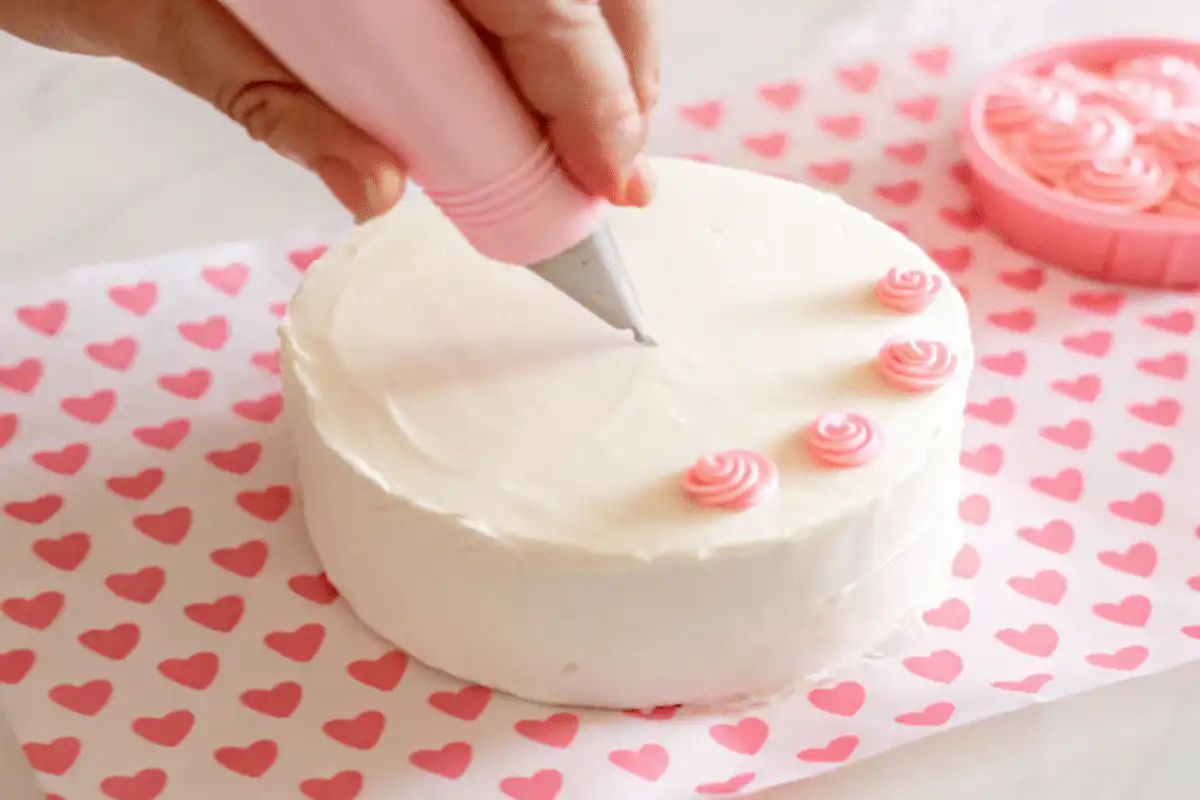
Cover the chilled cake with the remaining buttercream. Smooth the top and sides with a small offset spatula, or create soft swirls for a relaxed homemade finish. Add a piped border, tiny hearts, flowers, or a short message if desired.
Pro Tips for the Best Mini Bento Cake
Measure the half egg accurately
Whisk one large egg until the yolk and white are completely combined. Measure half by weight for the most accurate result. If you do not have a kitchen scale, measure the whisked egg by volume and use half.
Do not scoop flour directly from the bag
Flour can become tightly packed in the measuring cup. Fluff it, spoon it into the cup, and level the top. This reduces the risk of a dry cake.
Use room temperature ingredients
Room temperature egg and sour cream blend into the batter more evenly. This helps create a smoother mixture and more consistent crumb.
Avoid slicing a warm cake
Cooling is not an optional pause. The cake needs time to become firm enough to cut into two layers without tearing.
Keep the frosting layer light
A thick coating can overwhelm a cake this small. Start with thin layers of buttercream and add more only where needed.
Chill before the final coat
The crumb coat becomes easier to cover after a short chill. This step also helps the two small layers stay in place while you decorate.
Check that the center springs back gently and that a tester comes out clean or with a few moist crumbs. This guide explains several reliable ways to tell when a cake is done.
Flavor and Decorating Variations
Strawberry vanilla
Add 1 tablespoon of strawberry jam between the layers. Decorate the top with pale pink buttercream details.
Raspberry celebration cake
Use raspberry jam in the center and pipe a simple border around the top. The tart filling balances the sweet frosting.
Lemon variation
Replace the vanilla in the cake batter with ¼ teaspoon vanilla extract and add ½ teaspoon finely grated lemon zest. Do not add extra lemon juice because it can change the batter’s balance.
Chocolate decoration
Keep the vanilla cake as written and decorate it with chocolate sprinkles or a small amount of melted chocolate after the buttercream has chilled.
Simple message cake
Tint a spoonful of buttercream with food coloring and place it in a small piping bag. Write a short word or add small hearts after the final frosting layer is firm.
If you are planning a baby’s first birthday instead, this smash cake recipe offers another small celebration cake option.
How to Store a Bento Cake
Store the decorated cake in a covered container in the refrigerator. For the best texture, enjoy it within 2 to 3 days.
Let the cake sit at room temperature for about 20 to 30 minutes before serving. This gives the buttercream time to soften. Do not leave a cake with perishable filling at room temperature for an extended period.
Because the frosting contains dairy, refrigerate the cake promptly and avoid leaving it at room temperature for more than two hours, following FoodSafety.gov’s storage guidance
To prepare ahead, bake and cool the cake layer, wrap it tightly, and refrigerate it for up to 1 day before slicing and decorating. You can also freeze the unfrosted cake for up to 1 month. Wrap it well and thaw it in the refrigerator before assembling.
Serving and Packaging Ideas
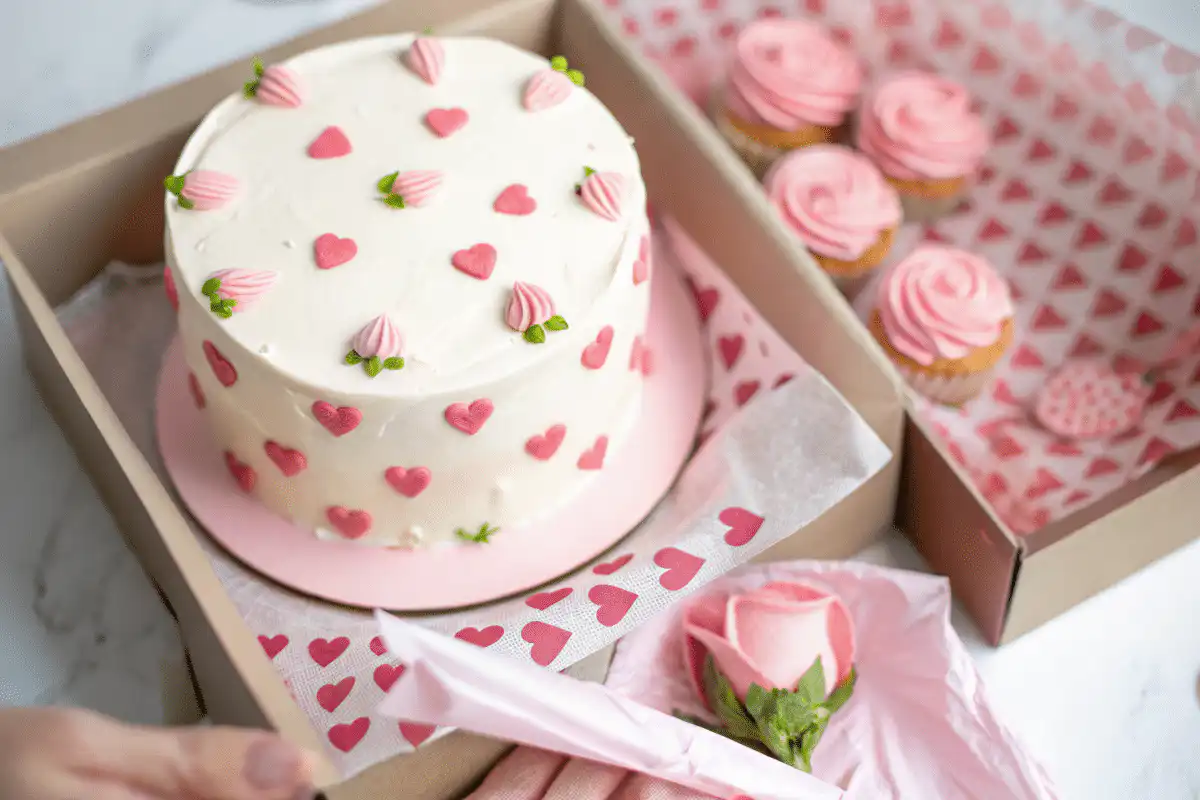
Place the finished cake on a 5 inch cake board or a clean square of parchment paper. A shallow hinged takeout box creates the classic lunchbox presentation, but the lid should not touch the frosting.
The cake makes one generous individual dessert. It can also be divided into two smaller servings after a meal. Serve it with fresh strawberries, raspberries, or a warm cup of coffee or tea.
For a slightly larger version designed for sharing, try this easy bento cake recipe.
More like this over in cakes & desserts.
Frequently Asked Questions
What is a bento cake for one?
A bento cake for one is a small decorated cake, usually about 4 inches in diameter, presented in a compact lunchbox style container. It is designed as one generous personal dessert, although it can be shared as two smaller portions.
What size pan should I use for a bento cake?
Use one round 4 inch cake pan that is about 2 inches deep for this recipe. A different pan size changes the depth of the batter and may require a different baking time.
How many people does a 4 inch bento cake serve?
A 4 inch bento cake can serve one person generously or two people in smaller portions. This recipe declares one cake and one generous serving to match its personal cake purpose.
Can I make a bento cake without a 4 inch pan?
You can use a small baking pan and cut 4 inch rounds from the cooled cake, but the baking time will change because the batter will have a different depth. For the most predictable result, use the 4 inch round pan specified in the recipe.
A Small Cake Worth Celebrating
This bento cake for one delivers everything that makes a layer cake feel special in a much smaller package. The soft vanilla cake, creamy buttercream, and optional fruit center give you a simple base that can suit many occasions. Once you confirm the baking time in your pan, you can decorate it with a favorite color, a tiny border, or a personal message and enjoy a celebration made just for the moment.

Bento Cake for One
Ingredients
Equipment
Method
- Preheat the oven to 350°F (175°C). Lightly grease one 4-inch round cake pan and line the bottom with parchment paper.
- Whisk the flour, baking powder, baking soda, and salt together in a small bowl.
- In a separate bowl, whisk the sugar, oil, measured egg, sour cream, and vanilla until smooth.
- Add the dry ingredients to the wet mixture. Stir gently until only a few flour streaks remain. Add the warm milk and mix just until smooth. Do not overmix.
- Pour the batter into the prepared pan and smooth the surface. Bake for 18 to 24 minutes. The cake is ready when the center springs back gently and a toothpick comes out clean or with a few moist crumbs.
- Let the cake cool in the pan for 10 minutes. Transfer it to a cooling rack, remove the parchment paper, and allow it to cool completely.
- Beat the softened butter for approximately 2 minutes. Gradually add the powdered sugar. Add the vanilla, salt, and 1 teaspoon of milk. Beat until light and smooth, adding more milk only when needed.
- Trim the rounded top if necessary. Carefully slice the completely cooled cake horizontally into two even layers.
- Spread a thin layer of buttercream over the bottom cake layer. If using jam, pipe a buttercream border around the edge and place 1 tablespoon of jam inside it. Add the second layer.
- Cover the cake with a thin layer of buttercream. Refrigerate for approximately 20 minutes or until the frosting feels firm.
- Apply the remaining buttercream. Smooth the top and sides, then decorate with simple piping or lettering.
Notes
– Let the cake cool completely before slicing or frosting.
– The exact baking time can vary according to the pan and oven.
– Store the covered cake in the refrigerator.
– Bring it closer to room temperature before serving.